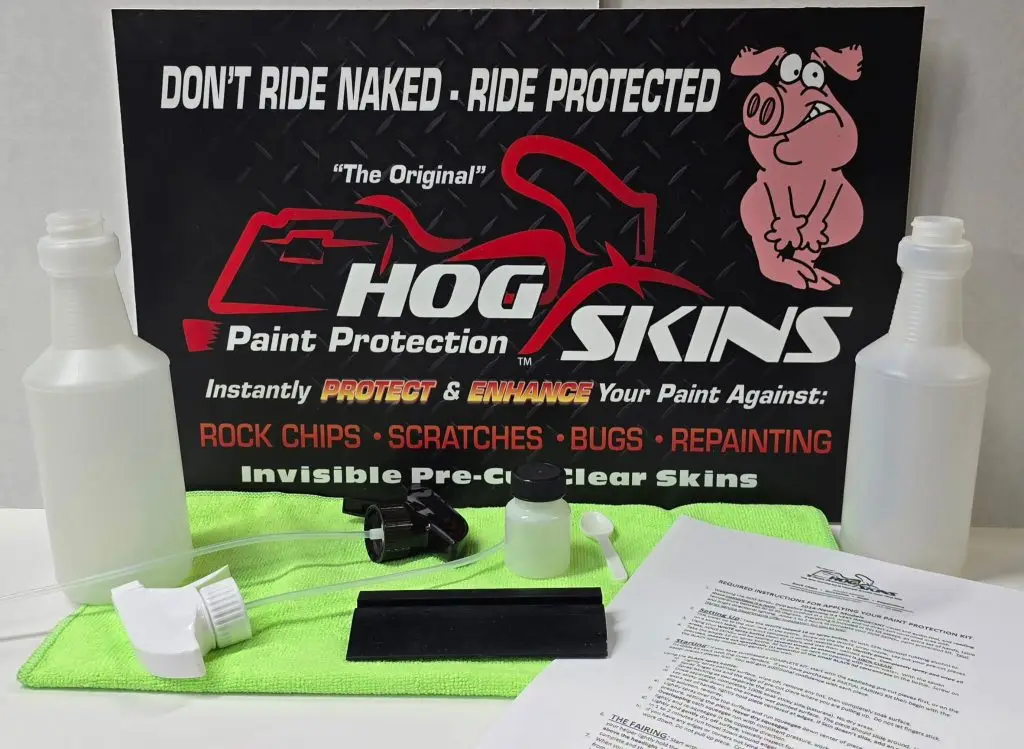
- WATCHING the HOG SKINS™ Video before beginning is a VERY IMPORTANT visual and audio tool, and reading these instructions is a must. Apply product in a dust, wind, and no direct sun controlled area with temperature between 50 to 95 degrees. Everything is included in this kit except, an extra set of hands, table and bright directional lighting. Allow 1 to 2 hours to complete your HOG SKINS™ paint protection kit. Your Harley service departments offer installation for you as well.
- SETTING UP: Take the WHITE capped 16 oz spray bottle, fill with 25% isopropyl rubbing alcohol to 75% water up to the mid-neck of the bottle. Screw on the WHITE spray nozzle. Lay out your pre-cut pieces on a smooth table, the pre-cut template is on this reverse side to identify pieces.
- Using your WHITE spray bottle clean all debris and wax from painted areas. Completely spray and wipe all areas, HOGS SKINS™ will be applied several times, so ensure paint is 100% CLEAN.
- Take the empty 16 oz. spray bottle, fill full to 3⁄4 up neck to opening with warm water. With the spoon provided, measure out specifically (1) spoonful of the small BLACK lid concentrate in the bottle. Screw on the BLACK spray nozzle and gently shake well.
- STARTING: If you have purchased a COMPLETE KIT, start with the saddlebag pre-cut pieces first, or on the Tri-Glide kit start with the inner fenders. If you have purchased a PARTIAL FAIRING Kit then begin with the easier pre-cut pieces first. You will gain additional confidence with each piece.
Using the BLACK spray bottle:
a) Lightly spray painted surface, wipe off, remove any lint, then completely soak surface.
b) Spray finger tips and the edge of pre-cut piece where you are pulling up. Do not let fingers stick. Spray backing as you separate the piece.
c) Once separated, completely 100% soak sticky side (saturate). No dry areas.
d) Lay sticky side down on the already wet painted surface. The piece should slide around. Using an extra set of hands, lightly hold piece centered at edges. If Skin doesn’t slide, add an extra drop of slip solution, re-spray.
e) Lightly spray over the top surface and run squeegee down center of piece with medium consistent pressure, setting the piece. Never dry squeegee.
f) Overlapping each squeegee run with consistent pressure, work one side then the other. Re-spray lightly and re-squeegee in the opposite direction.
g) Lightly and gently dry off surface, visually inspect for any air pockets and edges not down smooth. In 1 to 2 minutes run towel down around edges and corners.
h) If you have any edges or corners not lying down, simply spray White Top Spray under edges and work down. Do not pull up piece. Continue this same process throughout. - THE FAIRING: Start with the center piece first. Following the same specific directions above have your helper lightly hold the upper edges to confirm center. This piece should come down to the edge above the headlight, but does not wrap under. Squeegee your center run up and down and work one side complete and then other. When you are ready to apply the lower side fairing pieces remember to leave an exposed 1/8 inch space from your already set center piece. Be patient. Have your helper center the piece from the side edge of the headlight and holding the outer edge of the fairing. Set and work the lower outer areas first, spray inside the center concave opening and work squeegee upwards and around. The piece will set. Use WHITE spray solution on edges if needed.
Congratulations On A Job Well Done!
Check with your local window tint shop for installation assistance if needed. Many of our valued customers enjoy outsourcing the installation to their local window-tint shop.
Wax info:
Every time you wax your paint, wax your film. When waxing your hog, some wax may build up along the film edges. This can easily be removed when dry with a soft cloth, such as a 3M™ High Performance Cloth. Do not use pigmented or abrasive waxes, polishes or rubbing compounds on the film.
Removal Info:
Upon removal, If any adhesive remains on the vehicle after removal of the HogSkins Paint protection, it can be removed by using 3M™ General Purpose Adhesive Cleaner (3M Part #08984), according to the package directions.
Feel free to contact HogSkins with removal questions.